

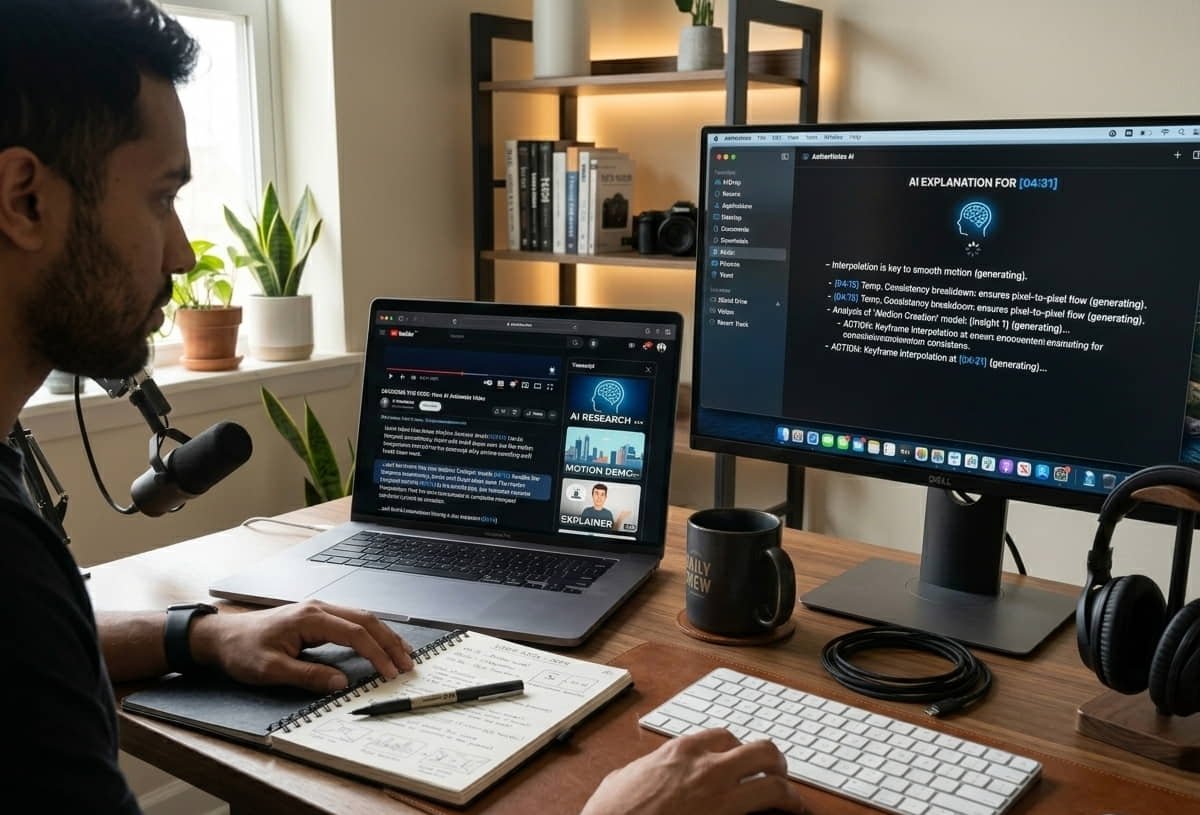
Updated October 9, 2026. To see a transcript on YouTube, open a captioned video, expand the description and select Show transcript. Click or tap a line to jump to that moment. On mobile, look in the expanded description; if the option is absent, check the same video in a desktop browser.
Start with the transcript steps and troubleshooting below. The later sections explain how to save useful timestamps and organize notes. Transcript availability depends on captions, and automatic captions should be checked against the audio before quoting.
YouTube transcripts: the fastest way to open them (and what to do when they’re missing)
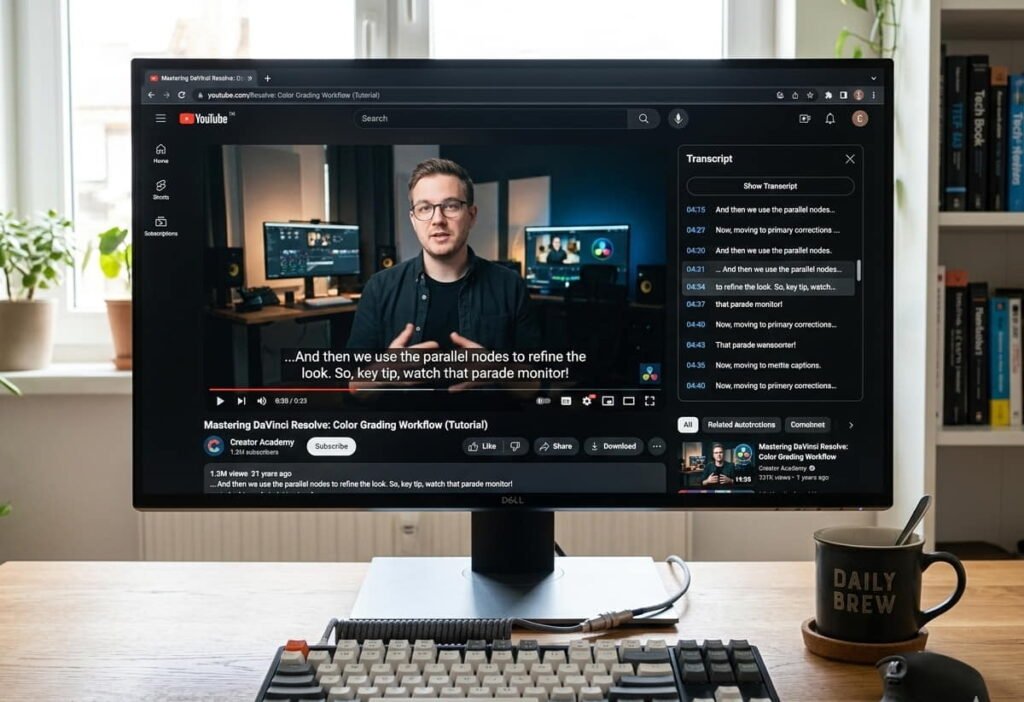
People ask “how to see transcript on YouTube” like it’s some hidden feature. It kind of is, because YouTube changes the UI a lot and some videos don’t even have transcripts available.
The clean method on desktop usually looks like this.
Open the video and expand its description. Select Show transcript when captions are available. Click a line in the transcript to jump to that part of the video.
That’s the most common path, and it works on a lot of videos. But sometimes you don’t see it, and you start thinking the transcript doesn’t exist.
On Android or iPhone, open the video in YouTube, expand its description and look for Show transcript. App versions and layouts can differ. If it is not visible, update the app and check the same captioned video on desktop before installing a third-party tool.
Now the practical part nobody tells you.
Automatic captions can mishear names, technical terms and numbers. Replay the relevant moment before using a quote or factual claim. A transcript gives searchable text; it does not independently verify what the speaker said.
And if the transcript is missing, you still have options.
- Check whether the video has an available caption track.
- Expand the video description and look for Show transcript.
- Check the same video on desktop if the mobile option is absent.
This matters more than people think. Because once you can open transcripts quickly, you can do everything else faster. If you also use AI Chrome extensions, they can make this process even quicker.
How to Save a Useful YouTube Timestamp Link
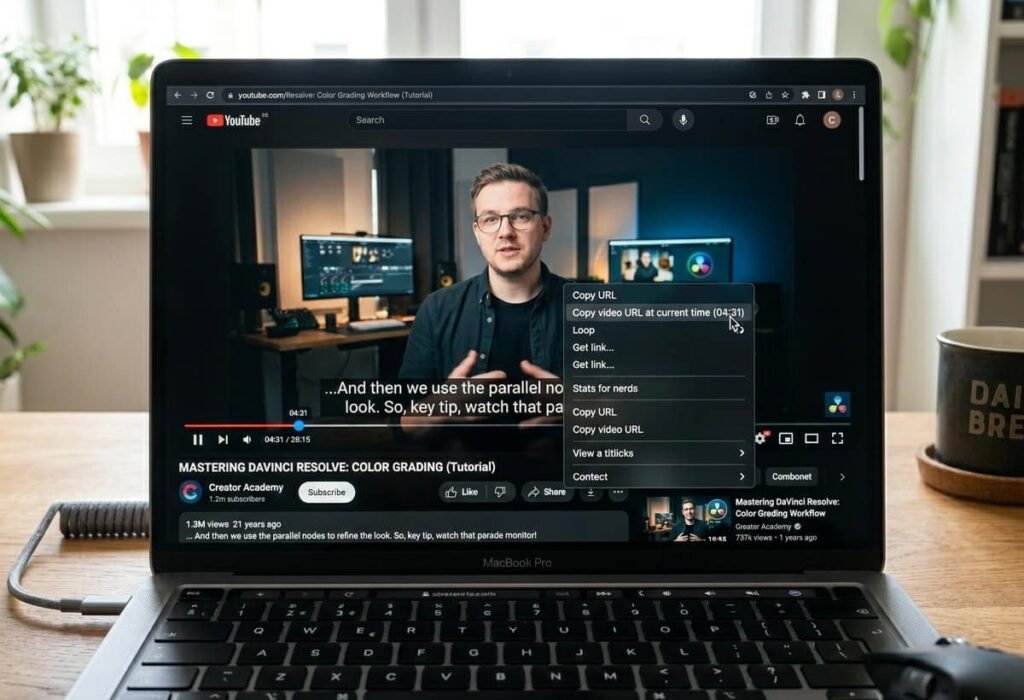
A “YouTube timestamp link” is basically a link that opens the same video at a specific time. It’s useful when you’re sending someone at the exact moment. It’s also useful when you’re building an article, a video essay script, or a notes doc.
The easiest way is built into YouTube.
On a desktop, you can pause the video at the exact moment.
Then you click Share.
Then you tick the “Start at” option and copy the link.
That creates a link with a time parameter.
But here’s the thing. Sometimes you don’t want the share box. You just want a quick copy.
You can right-click on the video and choose the option that copies the URL at the current time. YouTube wording changes, but the idea stays the same.
If you’re writing your own links manually, you’ll usually see something like ?t= or &t= in the URL. Both styles exist depending on the base link and platform. YouTube also supports time formats like seconds.
And if you’re doing this for an article, don’t be shy about adding multiple timestamp links. It’s one of those “small effort, big value” things. Readers love it because it feels like you’re respecting their time.
Missing YouTube Transcript: Check These Causes First
First check captions: if the video has no caption track, YouTube may not have a transcript to display. Turning playback captions off is different from the video having no captions.
Next check the description: expand it fully and look for Show transcript. The button’s location can differ between app versions and desktop.
Compare devices: open the same video on desktop if the mobile option is absent. This helps distinguish a layout issue from missing captions.
Check the caption language: select an available track if more than one exists. A different or automatically translated track can affect accuracy.
- You open the YouTube app.
- You look at the timer/limit UI in the editor.
If the panel appears but the text is wrong, use it to find the moment and verify the audio manually. Do not present an unverified automatic caption as an exact quote.
If captions have not been supplied or processed, only the creator or the platform can make the official track available. A browser extension cannot reveal a transcript that does not exist.
If nothing worked, use authorized transcription of content you have the right to process, or take notes from the audio. Check the service’s privacy and upload rules first.
Do not share your Google password with transcript websites or grant broad account access just to obtain public captions. Prefer YouTube’s built-in transcript when it is available.
How to create a YouTube playlist without making it a mess
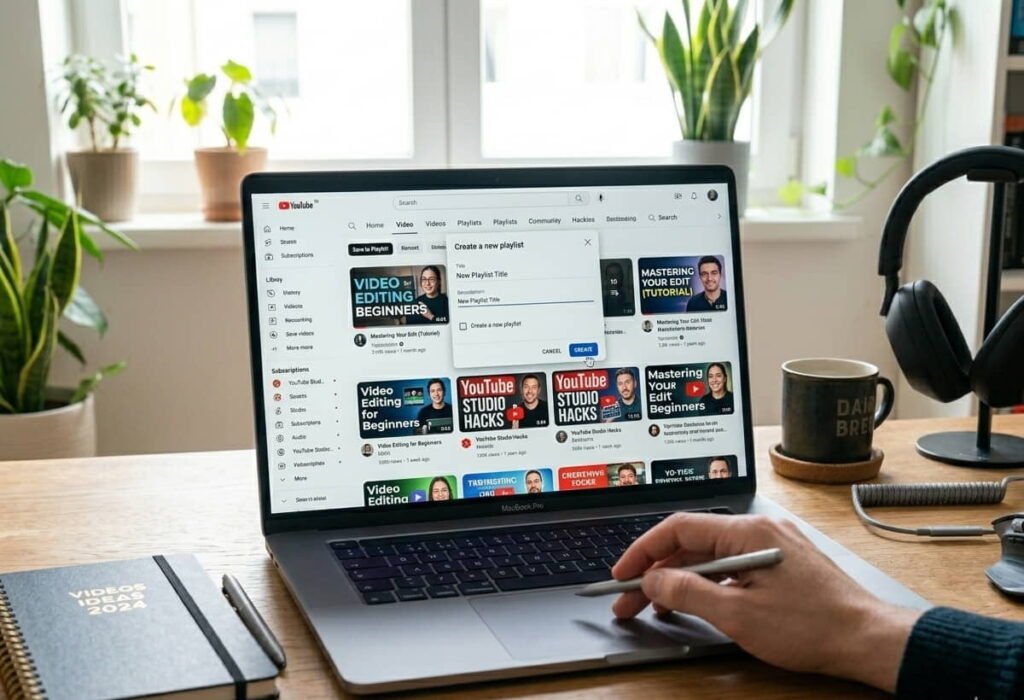
The keyword “how to create a YouTube playlist” looks basic, but the problem isn’t creating it. The problem is creating it in a way that’s actually useful for viewers.
The fast method is simple.
- Open any video.
- Hit Save.
- Create a new playlist.
- Name it properly.
Give a research playlist a clear name and appropriate privacy setting. Its purpose here is to organize your source videos, not to guarantee search rankings.
A better playlist name is clear and human.
Something like “Video Essay Research Notes, “YouTube Research Sources,” or “AI Tools That Actually Help” is better than fancy words.
Playlists can help you return to related research sources. Their existence does not establish an automatic ranking benefit or make a channel “bingeable.”
And if you want the playlist to look clean, do the annoying work once.
- Pick a consistent order.
- Write a short description that tells the viewer what they’ll get.
- Set the privacy correctly, because people forget and then wonder why nobody can see it.
YouTube playlist length calculator and duration problems (what works, what doesn’t)
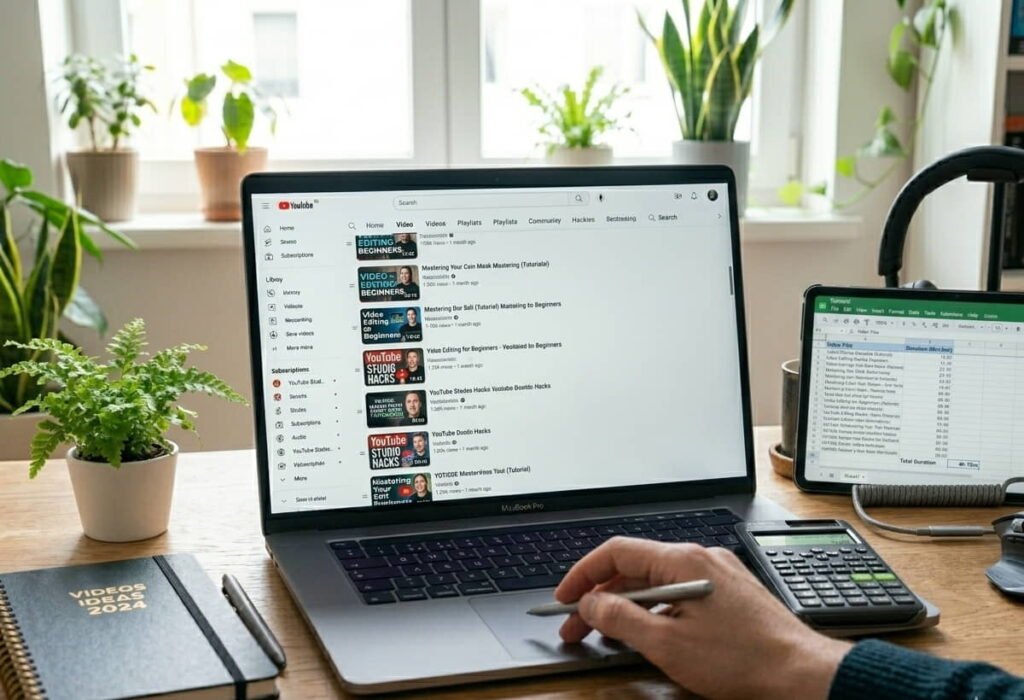
Now the thing that annoys everyone.
You build a playlist. You want to know the total duration. You search “youtube playlist duration calculator” or “youtube playlist length calculator,” and you find ten sketchy sites with popups.
So here’s the balanced answer.
YouTube itself does not always show total playlist duration in a simple, universal way. Sometimes you’ll see total time in certain views, sometimes you won’t. It depends on the platform and UI version.
That’s why third-party calculators exist. They take the playlist ID, pull the public video durations, and add them up.
If you use a calculator site, keep it simple and safe.
- Use well-known sites.
- Avoid anything that asks you to log in with your Google account.
- Avoid extensions that demand too many permissions.
Public calculators generally cannot access private playlists. An unlisted playlist can be accessible to anyone who has its link, and calculator support varies. Share an unlisted link only if you are comfortable with the service accessing it.
Keep a private playlist private. For planning, add the durations you can see while signed in to your own account, using a spreadsheet or a rough estimate. Do not expose a private playlist just to use a public duration calculator.
And yeah, some people build their own spreadsheet for this. If you’re that person, respect. It’s not a bad solution.
Use a Transcript for AI Summaries Without Losing Context
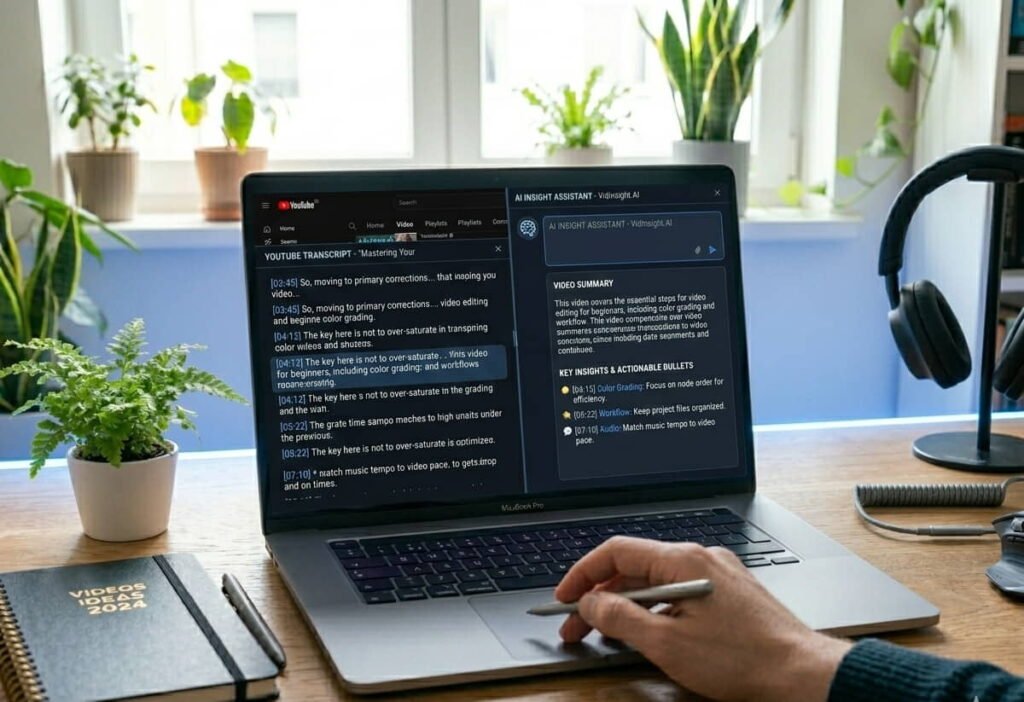
A copied transcript is text that an AI tool can help organize. It does not include everything visible on screen, and providing a YouTube link alone does not prove that a tool accessed the video.
The honest answer is that ChatGPT doesn’t “watch YouTube” like a human watches YouTube, unless you provide the content in a form it can process. It can’t magically open a random link and understand everything unless the setup supports browsing and the content is accessible.
But you can still get really good analysis with a simple workflow.
- Grab the transcript.
- Paste it into ChatGPT.
- Ask for the output you actually need.
If you want a video essay breakdown, say that. Ask for claim extraction, argument map, examples used, missing counterpoints, and emotional beats. If you want a study summary, ask for key concepts, definitions, and quiz questions.
This is where most people mess up. They ask, “Summarize this,” and then they get a boring paragraph.
So ask better.
- Ask for sections.
- Ask for what the speaker is trying to prove.
- Ask for what’s implied but not said.
- Ask for what data would be needed to verify claims.
And if you’re doing commercial video production, you can feed a transcript and ask for hooks, alternate intros, and shorter versions for Shorts. It’s basically a repurposing machine if you direct it properly.
Just don’t cross lines.
If a transcript includes private info or client scripts, don’t paste sensitive stuff into random tools without permission. Keep privacy in mind because your reputation matters more than speed.
How to write a summary that sounds human (not like a robot)
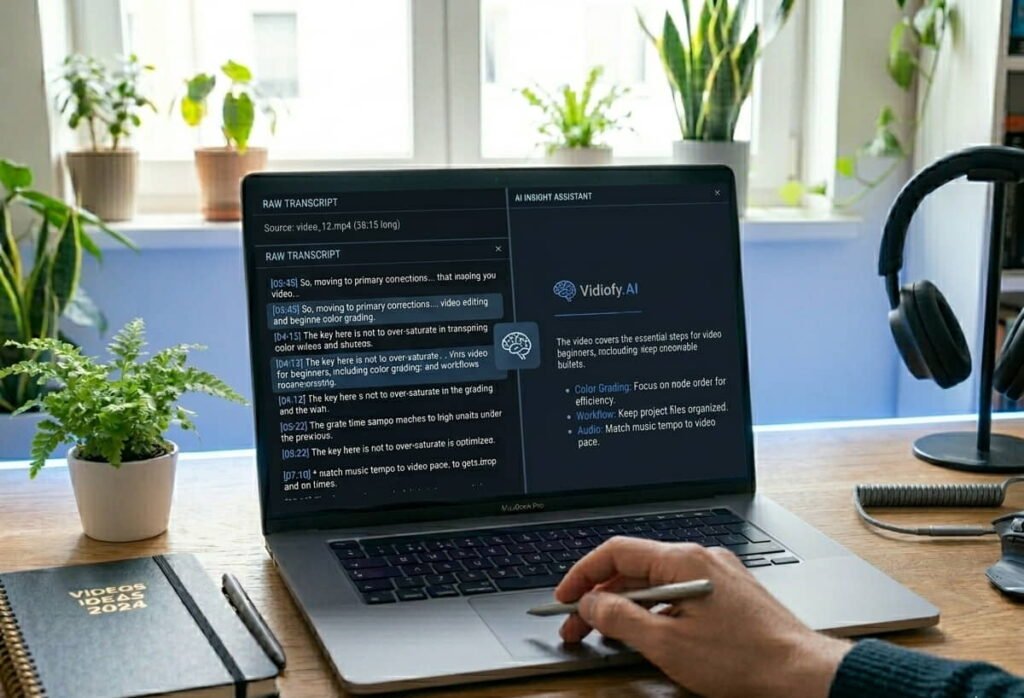
A useful transcript summary preserves the main claim, important supporting points and any uncertainty. Remove repetition without changing the speaker’s meaning.
The reason people struggle is that a good summary is not just “shorter text.” A good summary is selective. It picks what matters, keeps the logic, and drops the filler.
Try this repeatable summary method, then check the result against the transcript and audio. It is guidance, not a claim that we tested every summarization tool.
You start by asking: What is the main point?
Then you collect supporting points.
Then you remove examples unless they’re essential.
Then you rewrite it like you’re explaining it to a friend who didn’t watch the video.
That’s it.
And if you’re using AI, don’t ask for a final summary first.
- Ask for key points first.
- Then ask for a clean outline.
- Then you rewrite that outline into a summary.
Ask the tool to retain qualifications and distinguish the speaker’s claims from verified facts. A polished summary can still omit context, misquote numbers or invent connections.
Also, a summary can be of different lengths depending on what you need.
A one-paragraph summary is for quick sharing.
A longer summary is basically notes.
And notes are allowed to be messy. Notes are supposed to be messy.
Video essay workflow: transcripts, timestamps, summaries, and the part that makes you faster
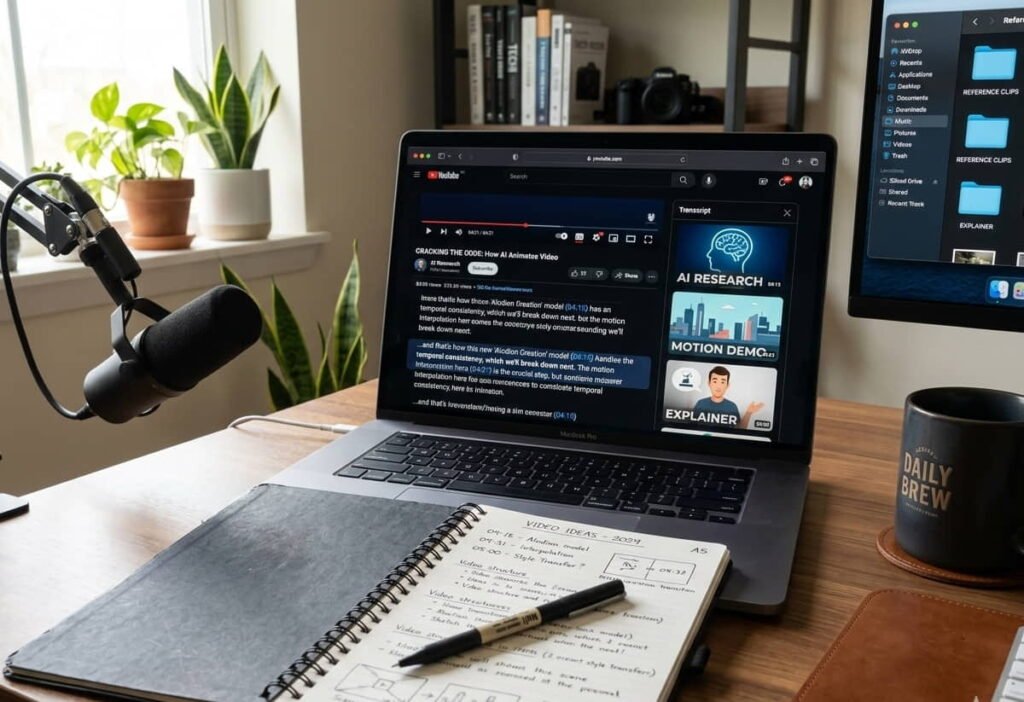
If you’ve ever made a video essay, you already know the pain.
You watch a long video.
You forgot where the good quote was.
You watch again.
You waste time.
You end up with a script that feels like a messy notebook.
So here’s a smoother workflow.
- Open the transcript.
- Search inside the transcript for keywords that match your topic.
- When you find the exact line, jump to that moment in the video.
- Create a YouTube timestamp link for that moment.
- Drop it into your notes.
Now you have evidence links. Not vibes. Evidence.
Then you take your transcript chunks and ask an AI tool for summary blocks. NoteGPT can help here, so can ChatGPT, so can any decent summarizer.
But the main skill is still yours.
You decide what the argument is.
You decide what clips to use.
You decide what to cut.
AI can speed up the boring middle. It can’t replace taste.
And if you’re wondering why I’m mixing this with YouTube playlists, it’s because playlists are a cheat code for research. Make a playlist called “video essay sources,” dump your references in it, and now your research lives in one place.
Bringing it all together: the simple “one page” setup that saves time
Most people don’t need more tools. They need less friction.
If you can do these things smoothly, your workflow becomes easier overnight.
- You can open transcripts fast.
- You can pull quotes and build timestamp links.
- You can create a playlist that keeps your research organized.
- You can calculate playlist time when you need to plan.
- You can use AI for summaries without letting it lie to you.
That’s the whole game.
And if you want one practical suggestion, keep a single doc called “YouTube Notes.” Every time you find a useful timestamp, drop the link and a one-line note. After a month, you’ll have a personal library that’s better than any tool.
For more AI tools that can help with research and productivity, see our Best AI Tools for Business in 2026 guide.:
Frequently Asked Questions
How do I see the transcript on YouTube?
To see a transcript on YouTube, open a video with captions, expand its description and select Show transcript. Click a line of caption text to jump to that part of the video. The interface can vary by device.
How to see transcript on YouTube on mobile?
On mobile devices, open the YouTube video and expand the description section. If captions are available, you may see the transcript option there. Some videos only show transcripts on desktop, so checking from a computer can also help.
Why can’t I see transcript on YouTube?
The video may lack captions, or the option may be located differently in your app version. Expand the description, check for a caption track and try the same video on desktop. Turning captions off during playback does not remove the underlying track.
Can I copy the YouTube transcript?
Yes. Once you open the transcript panel, you can highlight the text and copy it. Many creators use transcripts to collect quotes, create notes, or generate summaries using AI tools.
Can AI summarize a YouTube transcript?
Yes, AI tools can summarize YouTube transcripts. You can copy the transcript and paste it into an AI tool to generate summaries, notes, or key points from the video.

1 Comment
It’s frustrating when the transcript button isn’t easy to find! I like how you covered the various ways to quickly access it. The tip about using AI summaries is also a game-changer for speeding up the process.